How to add Shopify subcollections with no apps
5/24/2024 · 4 minute read
For almost every store, it makes total sense to organize products into collections.
It also makes sense to organize the collections themselves.
This means nesting them.
In other words, creating child collections inside parent collections.
For example, Clothing.
Clothing can have two subcollections, Men's and Women's. Men's can have Shirts, Trousers, and so on.
However, on Shopify this isn't natively supported like on other platforms.
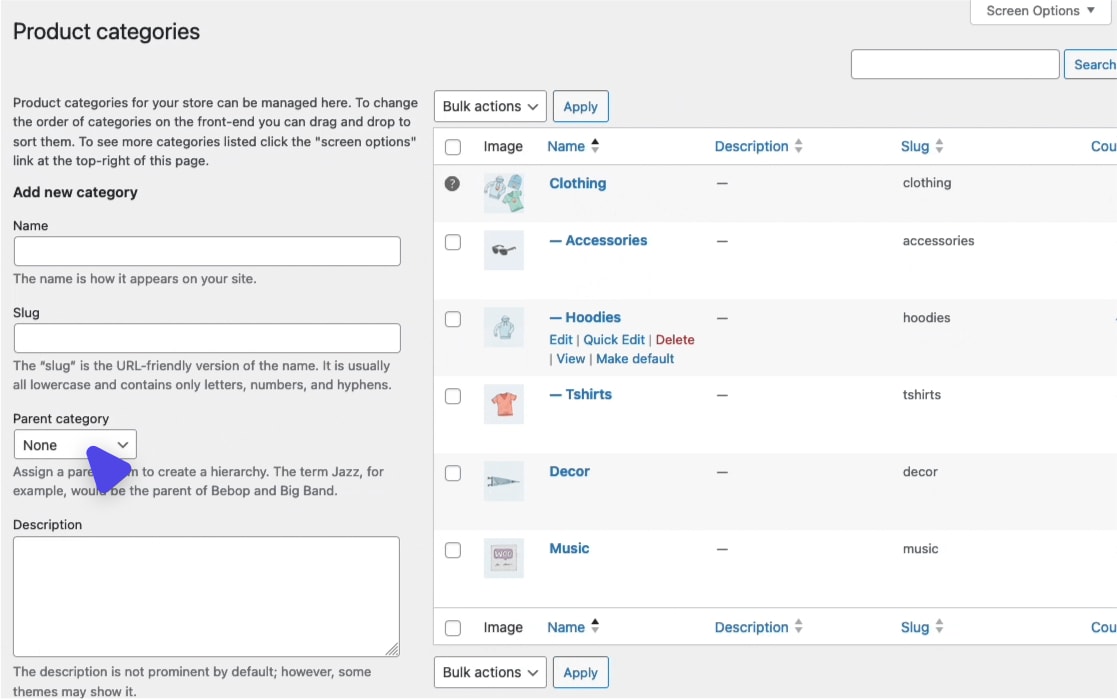
In WooCommerce you can set parent categories. This makes all the categories that have the same parent, as subcategories of that parent.
But, we have a lot of things we can do in Shopify too, beyond its native limitations.
And the best thing is, we can do it with native features.
(And no Shopify apps, which has many benefits.)
Disclaimer: This guide assumes you're not using a legacy Shopify theme. It also assumes your theme has bare minimum features, in this case a collection list section.
The simplest way to have subcollections in Shopify
The easiest form of subcategories in Shopify, is of course the menu.
Under Online store > Navigation, you can create menus that let you have nested items.
This doesn't need any further explanation.
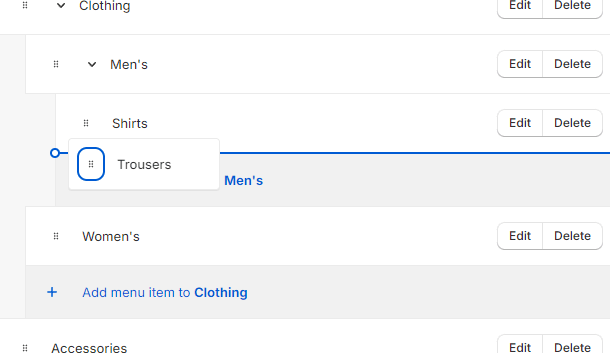
But that's only reflected in the place you'll place the menu on the theme.
(It's also limited to 3 levels of nesting.)
So, what other options do we have?
Subcollections on each collection page
If you think about how users navigate subcategories on the website, you'll see that there are basically two ways:
The header menu.
The category pages themselves.
So the next place where it makes sense to place links to subcategories, is the collection pages.
The collection pages would then show a list of their subcollections. Plus of course the products of the particular collection.
Here's an example of what this would look like:

Why show subcategories in collections
The reason is simple:
Better navigation.
In most cases, letting the visitor choose between subcategories when they visit a collection will improve UX and conversions.
As long as it's done properly.
How to implement subcollections in Shopify collection pages
Here's the general plan:
We'll create metaobjects that carry the subcollections. We'll then assign them to collections as metafields. Then, we'll use them as dynamic sources on your collection template.
Step 1: Create the metaobject definition
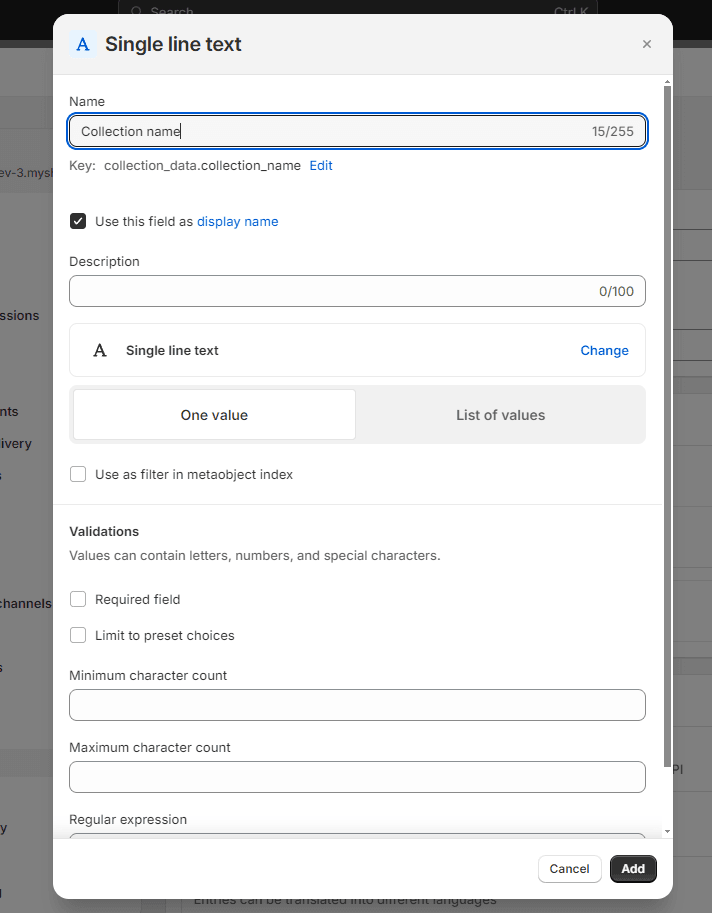
Create a metaobject named “Collection data”.

Add one field of type Collection, called “Collection”.
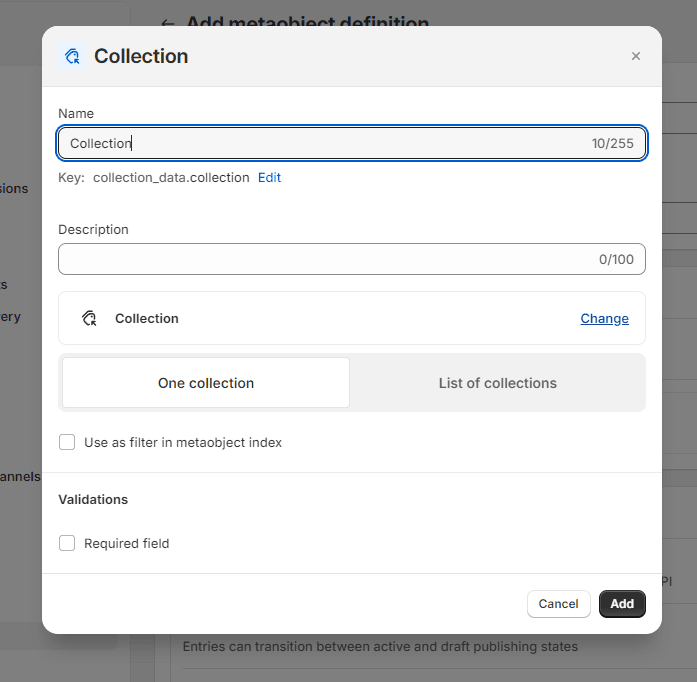
And another field of type Single line text, called "Collection name". (This is a display name by default, and will help us identify the entries later.)
Step 2: Create the metafield definition
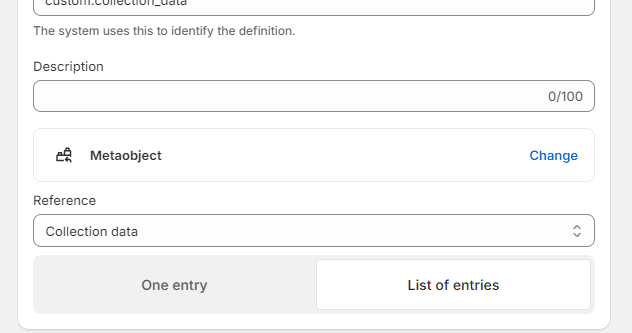
Create a collection metafield called "Subcollections".
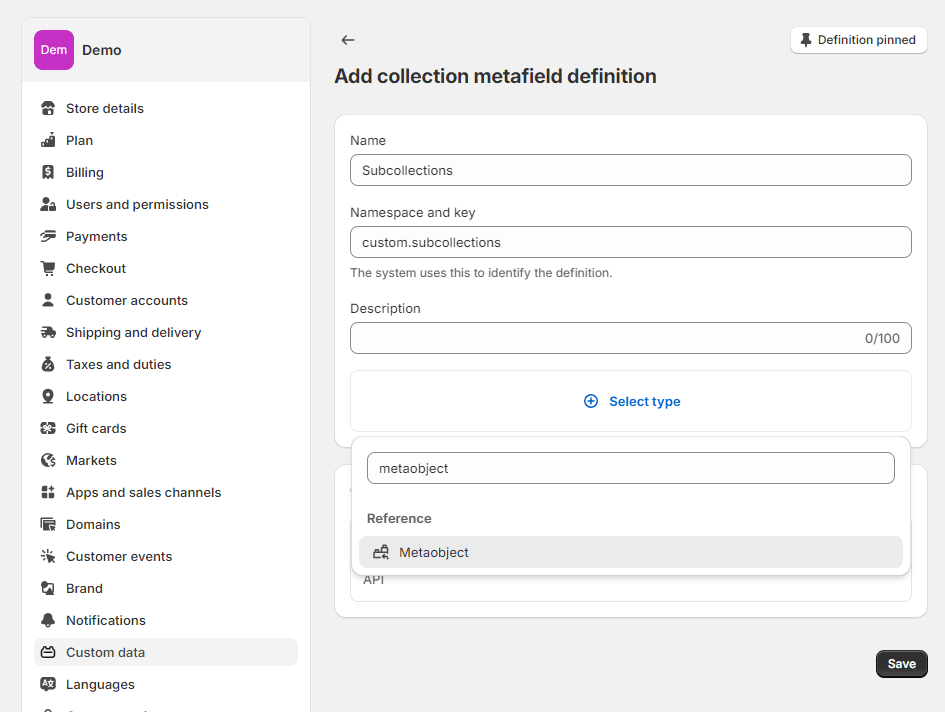
Make it reference your newly created "Collection data" metaobject.
It needs to be a list. (This is because we'll set many subcollections to each collection.)
Step 3: Create metaobject entries
Go to Content > Metaobjects and select "Collection data".
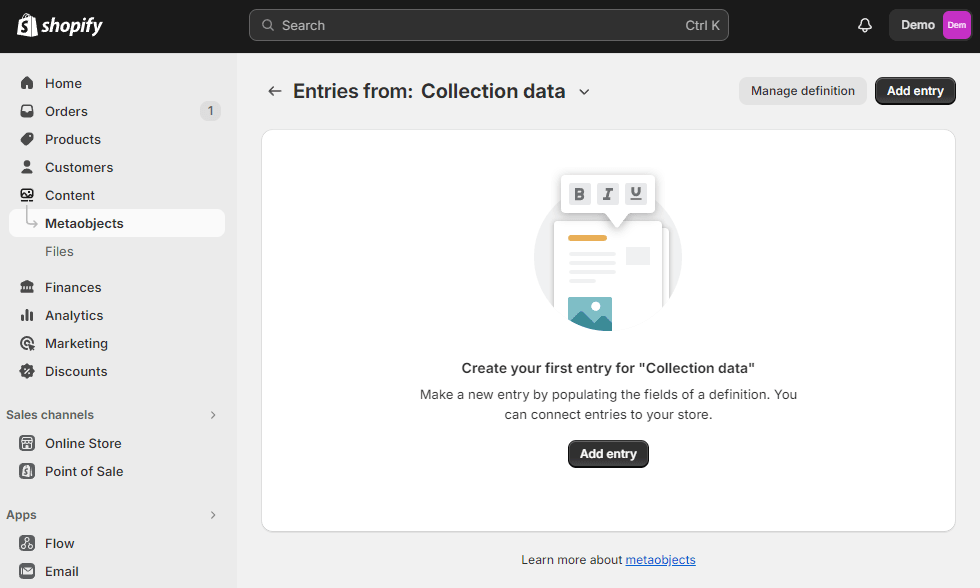
There, create one entry for every collection you want to use as a subcollection.
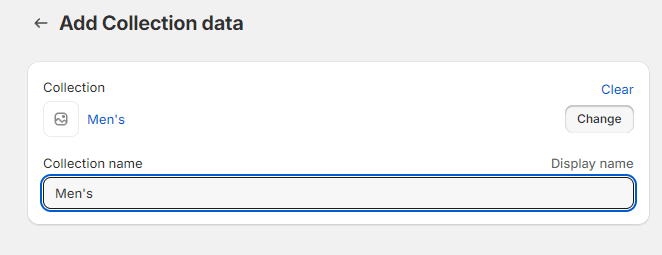
Set the metaobject entry's "Collection" field.
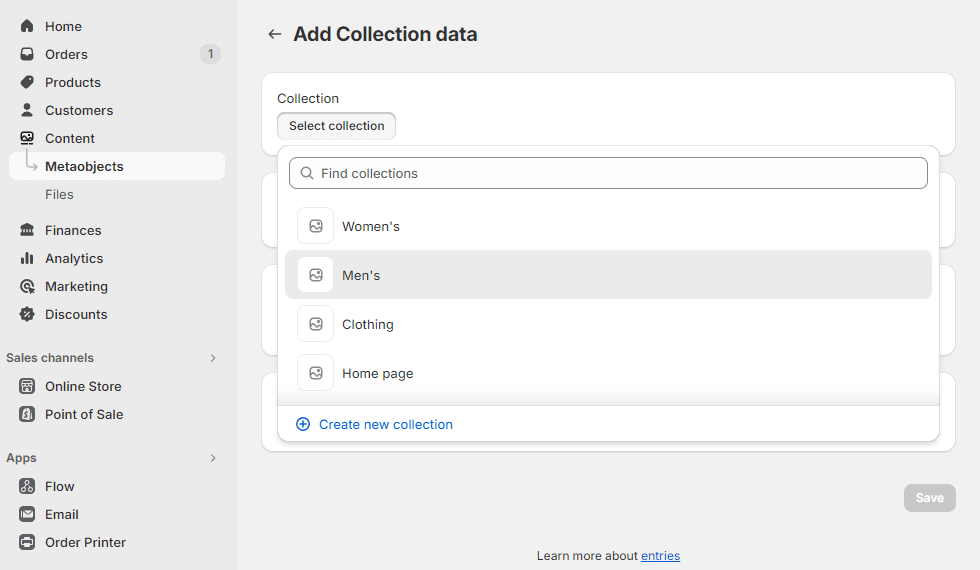
And set the same "Collection name".
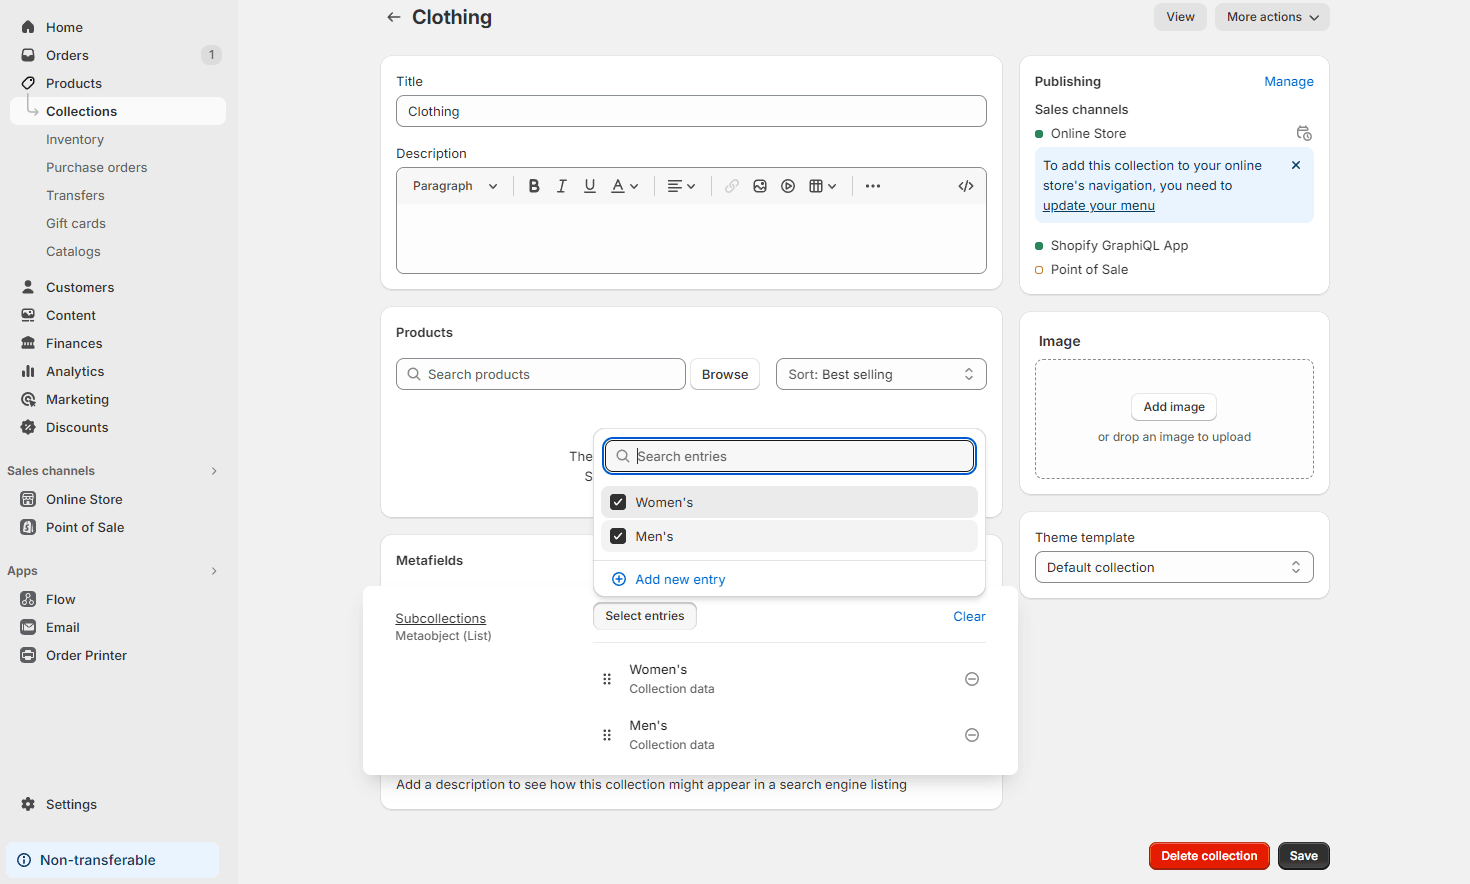
Step 4: Assign metaobject entries to the metafield
Now go to the admin page of each parent collection.
There, set the "Subcollections" metafield.
Choose whatever "Collection data" metaobject entries you want to show as subcategories on the collection's page.
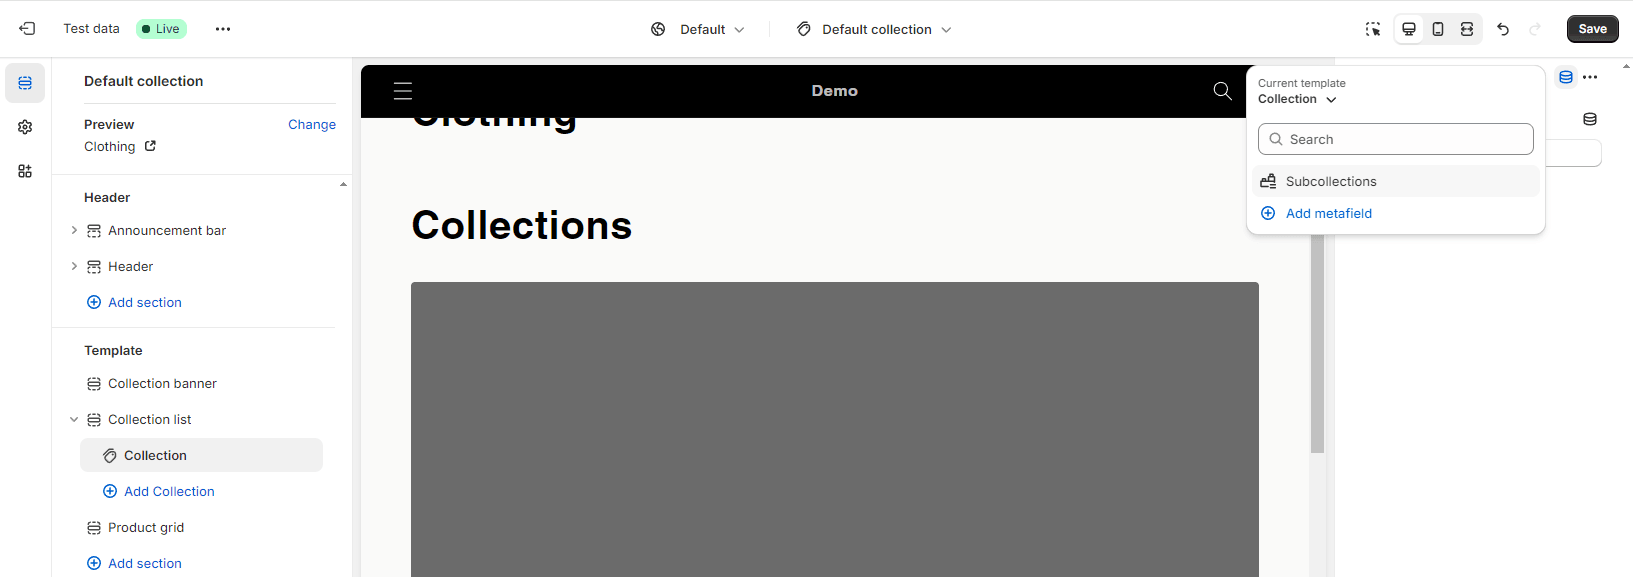
Step 5: Configure the collection theme template
Go to Online store > Themes.
I recommend you first duplicate your live theme. This way no issues will be caused with your live site. When you're finished, you can publish the duplicated theme.
So let's make sure we're in the right place:
Click "Customize" to open the theme editor.
Select the "Collection" template from the dropdown.
On the left sidebar, click "Change" to change the previewed collection.
Select a collection in which you've set the "Subcollections" metafield.

Now let's add our data:
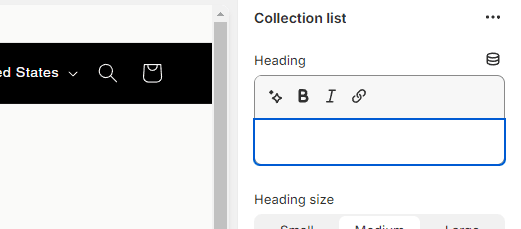
Add a "Collection list" section. It might be called differently on your theme. But it's just a section that shows a list of collections.
Drag the section wherever you want the subcollections to show.
Delete all blocks and only keep one. Or add one if there are none by default.
On that block's settings panel, click the Dynamic source icon at the very top.
Select the "Subcollection" metafield.
You will see that automatically, the theme is adding a block for each item of that metafield (since it's a list). Each item is a metaobject reference.
(There's a loop icon on the block, and it doesn't let you add more blocks.)
And, it's populating its "Collection" block setting with the "Collection" field of the metaobject.
Keep in mind:
On your theme, the setting might be called differently. Also, if this didn't work (which is extremely rare), do this: Manually click the dynamic source icon on top of the block setting where you set the collection. Then choose the relevant metaobject field.
One final change:
Delete any title and subtitle the collection list section may have.
This will prevent showing it on collections with no subcollections.
And that’s it!
Your collections should now have a list of subcollections on their pages.
Extra tips
Reduce section height
You want the section height to be as low as possible.
This is because we don't want to make the user scroll too much before seeing the actual products.
To do this, play around with your theme settings or custom code (just make sure to comment the changes for future migrations).
See if you can reduce the top and bottom padding. Choose to show as many columns as possible. And use a slider instead of a grid. Or follow the next tip:
Use icons
Consider using icons as featured images in collections, instead of product photos.
(This may not work for all stores.)
Using icons has two benefits:
Smaller height and less space used by the section.
A lot of times it's easier to recognize what the subcollection represents.
Quickly add metaobject entries
If you didn't know this:
Instead of going to Content > Metaobjects, you can go to the actual metafield setting of each collection admin page.
There, you can use the "+ Add new entry" button to quickly add entries specifically for that metafield list.